English
 Français
 Español
 Deutsch
 Italiano
 日本語
日本語 Nederlands
 العربية
 简体中文
简体中文 繁體中文
繁體中文 Português

High CPU usage means that the programs installed on your computer are using full energy of the CPU, and your computer thus runs very slowly. Open up task Manager by pressing Crtl-Alt-Delete at the same time, and then click Performance tab, your CPU usage history will be displayed.
There are many legitimate programs or illegitimate programs such as spyware and viruses on your computer that are the cause for high CPU usage. If the CPU spikes happen rarely and can correct themselves quickly, don’t worry about it. But if they keep coming back or don’t go away, you have to fix it.
How to fix CPU Usage High problem?
- Scan for Spyware or Adware
Since spyware or adware is often the cause for high CPU usage, you should first scan your PC for these nasties.
- Disable the amount of services running in the background
You can do this by altering your computer configuration. Here is how:
- 1. Open your Start menu.
- 2. Click Run
- 3. In the command screen type “msconfig.exe”
- 4. In the “system configuration utility”,click either “service” or “startup” tab
- 5. Uncheck all programs that your are no longer using.
- 6. Click “OK”
- Cleaning your Registry
You can free a lot of resources by cleaning your registry. Use a cleaner to repair it. This is a must!
- Stop Svchost.exe
Svchost, which is short for “service host“, is a core part of the operating system that provides support to many of the required services that are Windows. You can see all the copies of svchost and what services they are running by typing “tasklist / svc” in a command window. It’s necessary for your computer to function properly. However, you can stop the amount processes that are loaded. This will limit the need to for svchost server for loading. Here is one way to stop the svchost from loading.
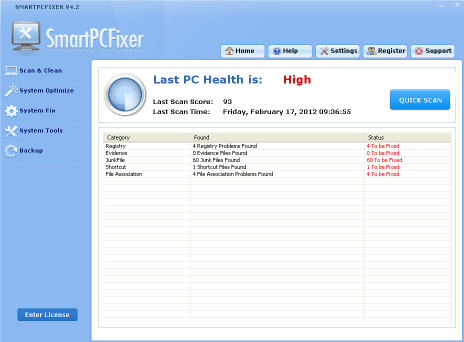
You can also use Registry Cleaner to fix the problem. SmartPCFixer is good at fixing computer errors and problems.
- 1. Download SmartPCFixer and install it to your computer.
- 2. Do a scanning of your computer.
- 3. Fix the problem by clicking “Repair All” button.