English
 Français
 Español
 Deutsch
 Italiano
 日本語
日本語 Nederlands
 العربية
 简体中文
简体中文 繁體中文
繁體中文 Português

JIT debugger error is a common windows error come across by computer users. Just-In-Time debugging launches Visual Studio automatically. When an exception or crash occurs in an application running outside Visual Studio, the problem occurs. When you get an error about JIT debugging, you need to check if there is a problem with Visual Studio.
You can restore Visual Studio issues either manually or automatically using the JIT debugger. If this utility malfunctions, you can fix it using a simple manual procedureWith the JIT debugger utility, you can troubleshoot errors and problems that prevent Visual Studio from performing correctly. It is likely that an issue such as a missing or corrupt file is keeping JIT debugger from functioning.
Please follow below steps to fix JIT debugger problem:
One:
- In the Start menu, click Run.
- In the Run dialog box, type regedit, then click OK.
- In the Registry Editor window, locate and delete the follow registry keys:
- HKEY_LOCAL_MACHINE\SOFTWARE\Microsoft\Windows NT\CurrentVersion\AeDebug\Debugger
- If your computer is running a 64-bit operating system, delete the following registry keys also:
- HKEY_LOCAL_MACHINE\SOFTWARE\Wow6432Node\Microsoft\Windows NT\CurrentVersion\AeDebug\Debugger
- Take care not to accidentally delete or change any other registry keys.
- Close the Registy Editor window.
Two:
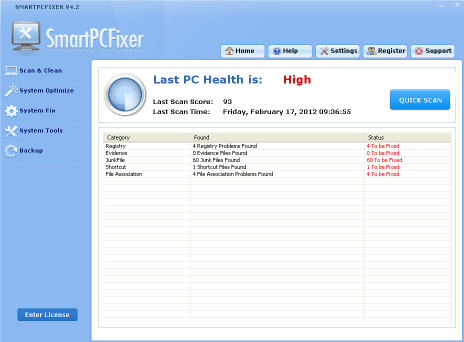
When you cannot fix the problem by above instrucions, or you don’t know how to follow the steps above, you can use a registry cleaning software. SmartPCFixer is the best choice.
- Please download and install SmartPCFixer by clicking it.
- After installation, start SmartPCFixer and on the interface click Scan button.
- After Scan, click Repair All button.