English
 Français
 Español
 Deutsch
 Italiano
 日本語
日本語 Nederlands
 العربية
 简体中文
简体中文 繁體中文
繁體中文 Português

Script error message is always given by internet explorer when you try to browse your Internet. This kind of errors occur because of a programming error on the Web page that you are trying to visit. Internet Explorer is programmed to automatically try to debug the pages. Although this has nothing to do with your computer or the browser, you can use your browser to fix the display message so you don’t get any more errors. Fix this debug and you will not get the error message any more.
To fix this problem is not difficult if you have a registry cleaner. Registry cleaner has specil section for IE fixing. Because IE problems are always encountered by computer users. Everyday we start IE and begin our online activities. So IE is very easy to give a problem. But registry cleaner analyzes the problems and fixes the problems very quickly.
The best Registry Cleaner to fix the IE problem is SmartPCFixer. I don’t know you ever heard about it or not. But SmartPCFixer receives great feedback from its users. Anyone who uses SmartPCFixer says that it is the right tool they want.
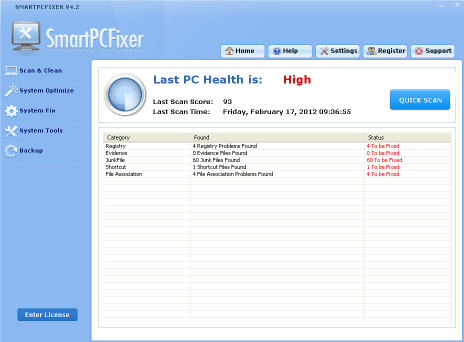
- 1. Download SmartPCFixer and install it to your PC.
- 2. Do a scanning of your computer with SmartPCFixer.
- 3. Fix the problem by one click.
If the problem still occurs, please follow below steps:
- 1. Click on your Internet Explorer icon to launch the program.
- 2. Click on the “Tools” option from the software screen.
- 3. Click on “Internet Options.”
- 4. Click on the “Advanced” tab and then go through the options to the tab labele.
- 5. “Browsing.”Click on the box labeled “Disable Script Debugging” and then click “OK.”